Hexo配合搭建github个人主页
本文于 1332 天之前发表,文中内容可能已经过时。
前言
“工欲善其事,必先利其器”,在搭建个人博客的过程中,我深刻体会到这句话的含义。虽然早就决定了要搭建个人博客,但是我并没有草草动手,而是提前做了大量的调研工作,包括采用哪种博客系统、选择哪种主题、怎么购买并绑定个性域名等等。事实证明,正因为前期的充分准备,搭建过程才能按部就班地进行。下面先介绍为何选择GitHub Pages和Hexo来搭建博客
准备
- Node js环境
- Git环境
检查环境安装是否正确1
2
3
4
5
6
7
8chenbin@chenbin-ThinkPad:~$ node -v
v8.9.4
chenbin@chenbin-ThinkPad:~$ npm -v
5.6.0
chenbin@chenbin-ThinkPad:~$ git --version
git version 2.17.1
如果结果如上, 则说明安装正确, 可以进行下一步了。 如果不正确, 则需要回头检查自己的安装过程
Install Hexo
1 | $ npm install -g hexo-cli |
Link:
https://hexo.io/zh-cn/docs/index.html
建站
安装 Hexo 完成后,请执行下列命令,Hexo 将会在指定文件夹中新建所需要的文件。1
2
3$ hexo init <folder>
$ cd <folder>
$ npm install
NOTE:
Init
必须是完全空的目录. 不能存在任何文件, 包括隐藏文件
新建完成后,指定文件夹的目录如下:1
2
3
4
5
6
7
8.
├── _config.yml
├── package.json
├── scaffolds
├── source
| ├── _drafts
| └── _posts
└── themes
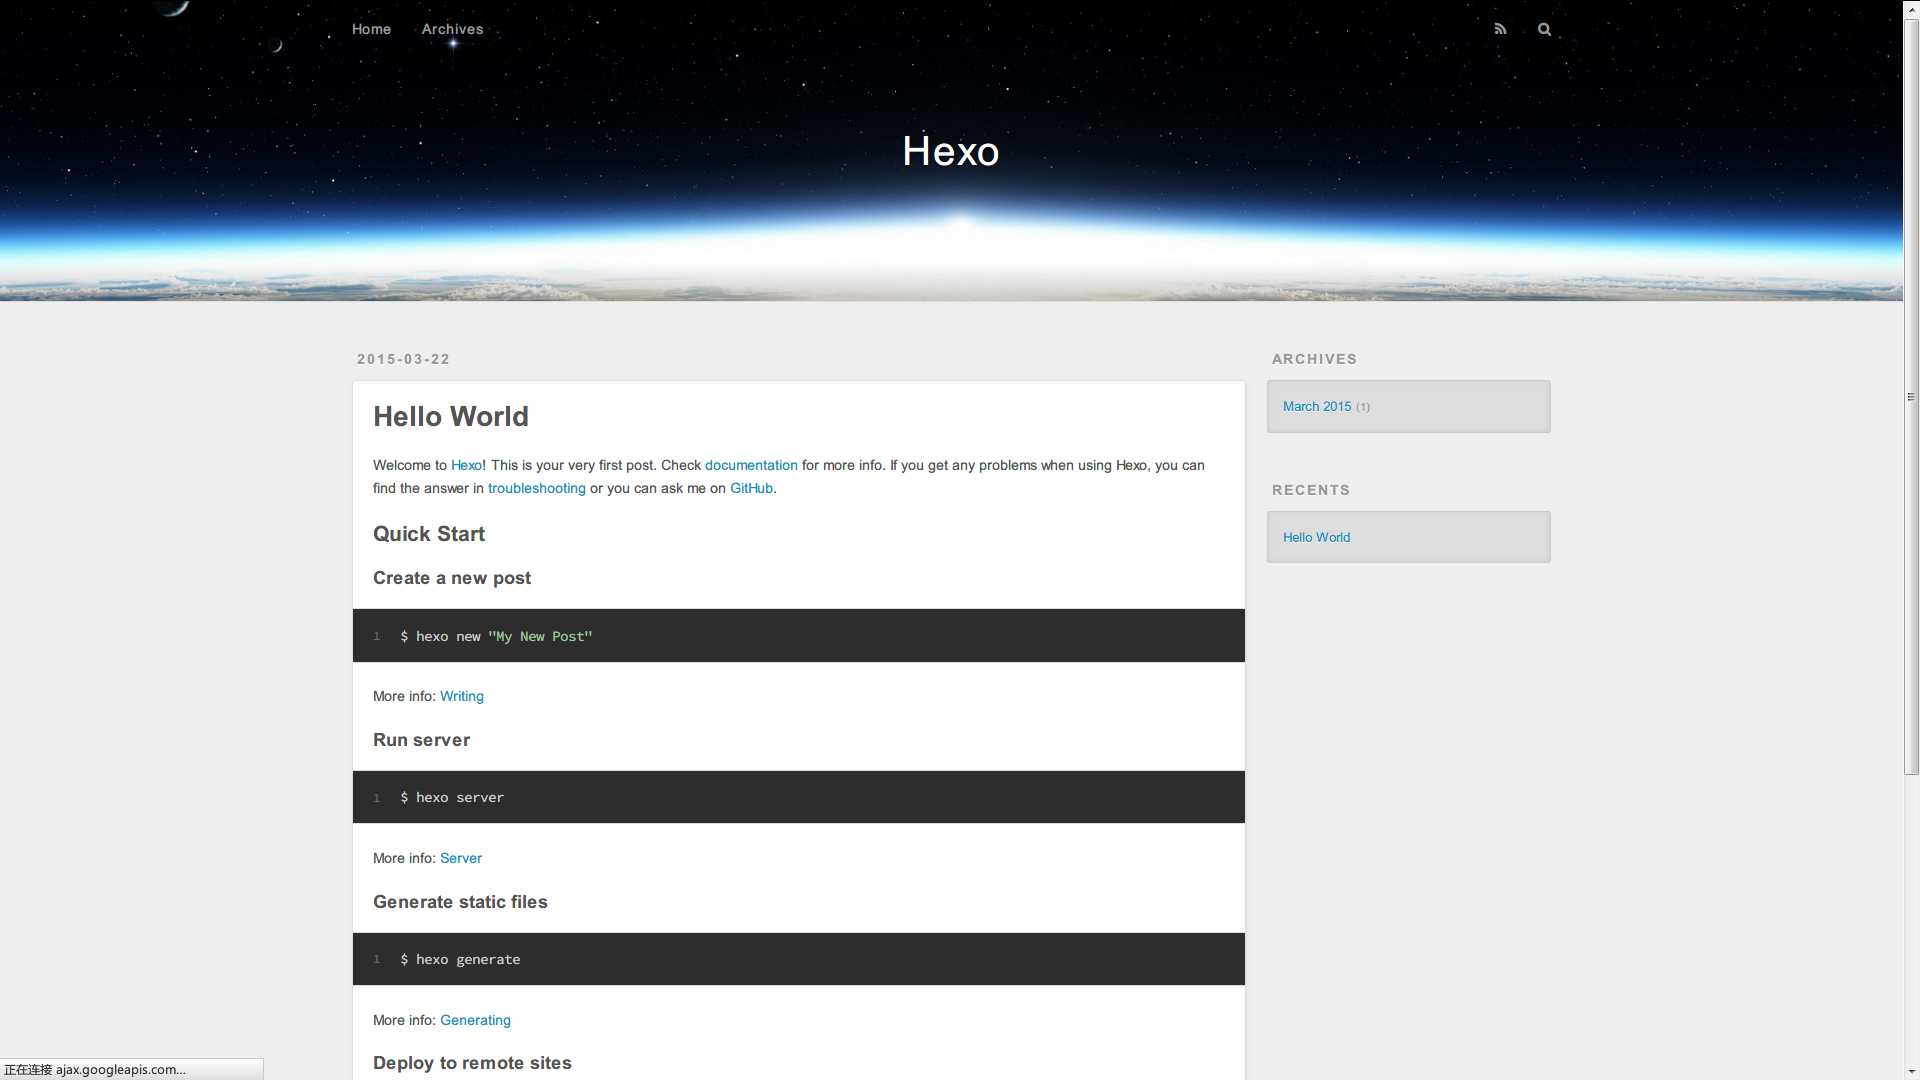
查看建站效果
自动根据当前目录下文件,生成静态网页1
hexo g
运行本地服务, 出现以下结果说明本地服务运行成功. 这时就可以在浏览器输入http://localhost:4000/ 就可以看到效果了.1
2
3
4
5hexo s
chenbin@chenbin-ThinkPad:~/.../github-workspace/Hexo-code$ hexo s
INFO Start processing
INFO Hexo is running at http://localhost:4000/. Press Ctrl+C to stop.
效果图:
Deploy
Hexo提供了快速方便的一键部署功能,让您只需一条命令就能将网站部署到服务器上。
1 | $ hexo deploy |
在开始之前,您必须先在 _config.yml 中修改参数,一个正确的部署配置中至少要有 type 参数,例如:1
2deploy:
type: git
您可同时使用多个 deployer,Hexo 会依照顺序执行每个 deployer。1
2
3
4
5deploy:
- type: git
repo:
- type: heroku
repo:
缩进
YAML依靠缩进来确定元素间的从属关系。因此,请确保每个deployer的缩进长度相同,并且使用空格缩进。
详细说明请查看:
https://hexo.io/zh-cn/docs/configuration.html
Git Deploy
以下是我在本地使用Git Deploy配置的例子:1
2
3
4
5
6# Deployment
## Docs: https://hexo.io/docs/deployment.html
deploy:
  type: git
repository: https://github.com/binchencoder/binchencoder.github.io.git
branch: master
Install Git Deployer
安装 hexo-deployer-git1
$ npm install hexo-deployer-git --save
安装成功之后就可以使用Git将网站部署到指定的服务器上1
2
3
4
5
6
7
8
9
10
11chenbin@chenbin-ThinkPad:~/.../github-workspace/Hexo-code$ hexo deploy
INFO Deploying: git
INFO Clearing .deploy_git folder...
INFO Copying files from public folder...
INFO Copying files from extend dirs...
位于分支 master
无文件要提交,干净的工作区
To https://github.com/binchencoder/binchencoder.github.io.git
8a8903c..dac6bed HEAD -> master
分支 'master' 设置为跟踪来自 'https://github.com/binchencoder/binchencoder.github.io.git' 的远程分支 'master'。
INFO Deploy done: git
出现如上结果,就大功告成了。
Hexo Hello-World网站已经部署到Git服务上。就可以通过https://binchencode.github.io 地址访问部署的网站了